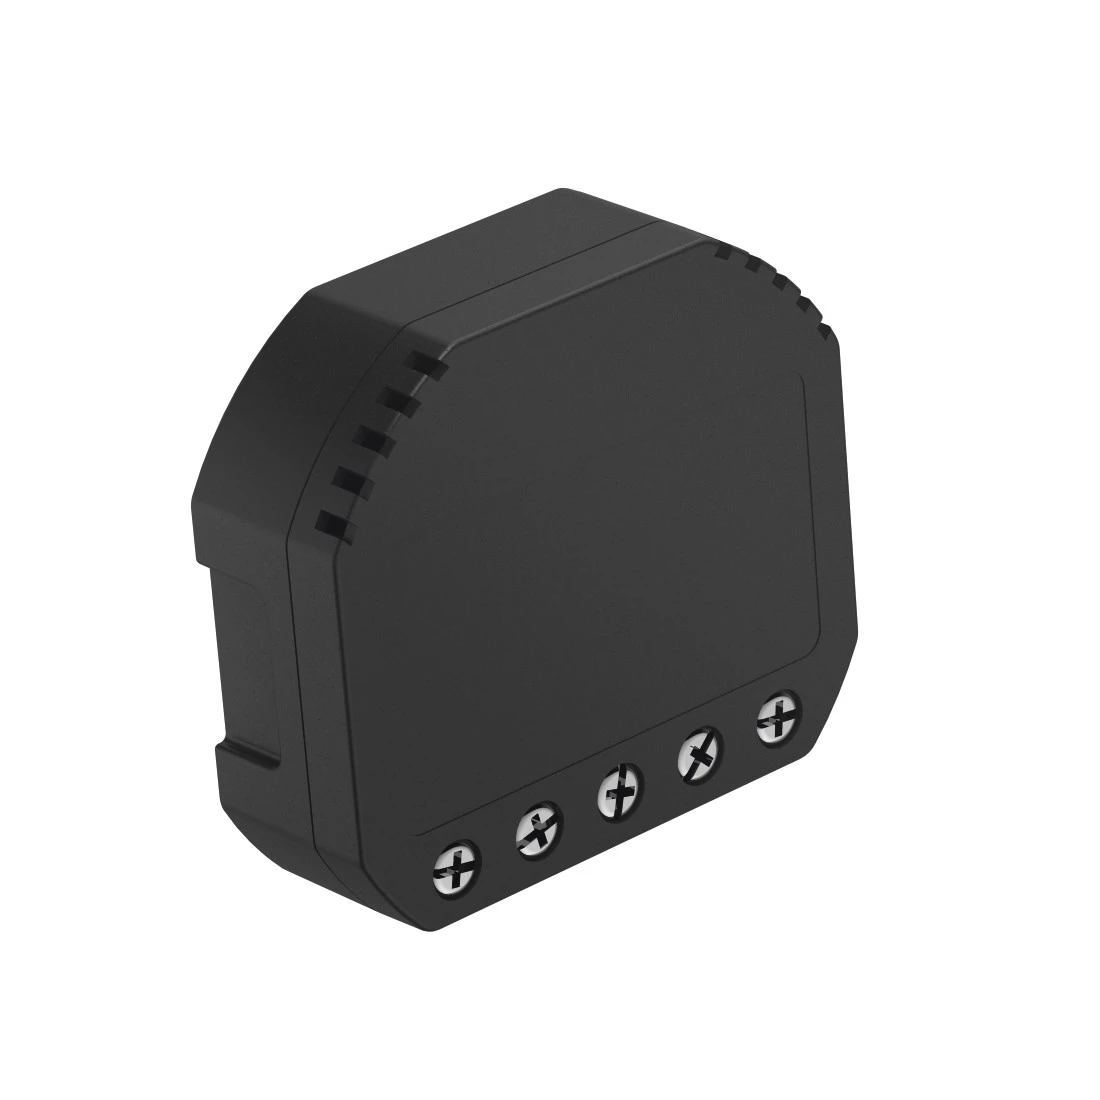


Hama WiFi Retrofit Switch for Lights and Sockets, Flush Installation
Turns your existing ceiling light into a WiFi light or a socket into a wireless socket, allowing operation via an app or voice control

-
Specificaţii Tehnice
Conectivitate ( Conexiune) Transmiterea semnalului WiFi Proprietati electrospecifice Bandă de frecvenţă 2,4GHz Frecvența rețelei 50 Hz Performanţă maximă 2300 W Tensiune de funcţionare 230 V Proprietati fizice Asistent vocal Amazon Alexa (AVS), Apple Siri (Shortcuts), Google Home Poate fi estompat Nu Marime & greutate W x H x L 4,7 x 1,7 x 5,2 cm Energie Putere maximă de ieşire 10 A Domeniul de aplicare Controlul aplicației Hama Smart Home Utilizare recomandată Home Assistent -
Mai multe detalii despre produse
- Lumini: modulul este conectat la sursa de alimentare a luminii dvs., care poate fi în cablul din spatele întrerupătorului de lumină existent, într-o cutie de joncțiune sau la baza luminii
- prize: modulul este montat în spatele soclului
- Poate fi utilizat pentru toate sistemele de comutare, deoarece comutatorul existent este păstrat
- Modul WiFi pentru integrare în propria rețea WiFi prin aplicația gratuită „Hama Smart Home”
- Control prin aplicație gratuită sau opțional prin controlul vocal „Amazon Alexa” și „Google Assistant”
- De asemenea, controlabil în mișcare prin intermediul aplicației, păstrându-vă controlul deplin
- Susține controlul cronologic
- Funcționează fără router
- Fără funcție de diminuare
-
Continut pachet
- 1 comutator de WiFi
- 1 ghid rapid de referință
-
Nota pentru consumatori
Instalarea numai de către un electrician calificat.
Amazon Alexa:
pentru a face acest lucru, abilitatea Alexa necesară „Hama Smart Solution” trebuie activată în aplicația Alexa. Contul de utilizator pentru aplicația Hama Smart Home este apoi conectat la Alexa.
Aceasta permite dispozitivelor să fie controlate prin control vocal (pornire / oprire).
Asistent Google:
serviciul „Hama Smart Solution” trebuie activat în aplicația Google Home pentru acest lucru. Contul de utilizator pentru aplicația Hama Smart Home este apoi conectat la Google.
Aceasta permite dispozitivelor să fie controlate prin control vocal (pornire / oprire). -
Manufacturer information
Hama GmbH & Co KG, 86652, Monheim, https://hama.com
FAQs
-
How do I protect my privacy if I'm using the Alexa voice assistant?
If you are using Alexa voice control, you will find a number of tips and settings options at Amazon to protect your privacy with the voice assistant: https://www.amazon.de/b?ie=UTF8&node=17084415031
-
How do I protect my privacy if I'm using the Google Assistant voice assistant?
If you are using Google Assistant voice, you will find a number of tips and settings options at Google to protect your privacy with the voice assistant.
Descărcări
Manuals
Declaration of Conformity
App Manual
| Name | Sistem de operare | required Version | Descarca |
|---|---|---|---|
| Hama Smart Home | iOS | 8.0 or higher |

|
| Hama Smart Home | Android | 4.1 or higher |

|